 This is a project that I have played with many times over the years I've stitched and designed needlepoint. It's a very very simple thing that anyone could do - skill at art and drawing isn't necessary, and with a knowledge of lots of fun decorative stitches, amazing affects can be achieved.
 One of my favorites a few years ago was a little grouping of three to five trees of different sizes, heights, and widths to sit on the mantel at Christmas time. I had little stands made with a base and a dowel to fit into a pocket on the back of the tree so that they would stand upright. I wish I had one to show, but I gave them all away.
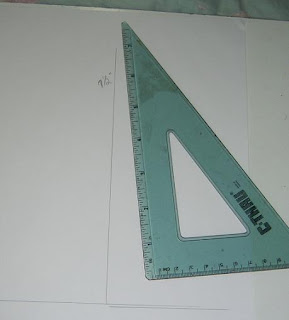
Anyway - all you have to do is decide how tall you want your tree, and approximately how wide - so the tree will be tall and skinny or short and fat or whatever.
I first drew a straight line across the bottom, and then, using the triangle, drew a vertical line to designate the center. It's marked at 7 1/2" high.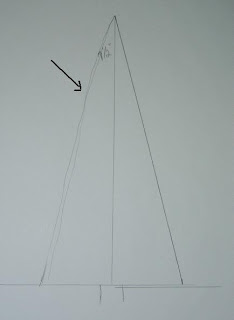
In the second picture, the arrow points to the left side, which is a sketch to show me the shape my tree will be. Then, the bottom is marked at 2" each side of the center, and a straight line is drawn from top to bottom on the right side, using the triangle as a straight edge. (because it was convenient). I added the little trunk freehand.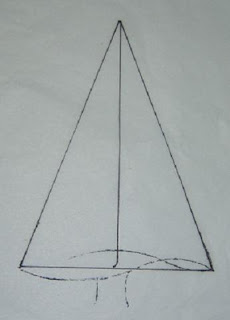
The next picture is the 5 1/2" tree I drew, using the same center line and base line, but cutting the center off at 5 1/2" high, - and drawing the line down to the 2" on each side, just as I did for the taller one.
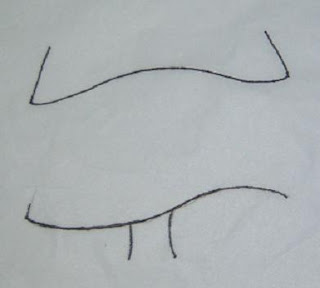
At the bottom, you can see where I played with sketches for changing the shape, and then traced them onto tracing paper to use for my trees if I wish.
Drawing the tree onto the canvas is a simple thing - and you may use whatever mesh size you please for this project. Just place the canvas over the drawing with the center line exactly on a canvas thread so it will be symmetric.
The easiest way, if you aren't a perfectionist, is to use a straight edge and draw the line from top to bottom on each side. I've given several tutorials on this blog about drawing with a pen on canvas - a simple thing.
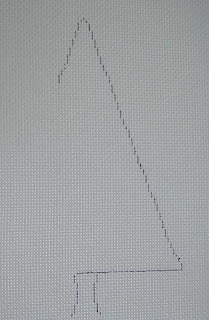 On this picture, I've begun to stitch draw the side, as I insist on symmetry. You can see where I started to copy on the left side what I've done on the right. I keep a little bottle of white acrylic paint on my table, and a trolley needle to dot out mistakes and re-draw them.
These little trees make a great small, bright project that one can do quickly, and they are a wonderful way to use up stash threads and practice stitches and new techniques and effects. You might just make horizontal bands of decorative stitches (I've actually seen these sold as painted canvas with stitch guides), or fill the whole tree with a multi-colored stitch.
I hope to find time to get a few ready to embellish with surface treatments and embroidered effects I've been wanting to try out! If you wish, just print out these drawings for yourself, and then enlarge or reduce them as you want them - an easy thing. I do recommend a coat of acrylic paint if you intend to use stitches that might allow the white canvas to show through - the "dandruff" effect.
 I cannot believe another month has gone, and I have produced so little for this blog - another very stressful change of address was in the middle of this one, but as soon as I find my drawing equipment and paint brushes, I'll be back working.


